Get your dream waves using everything from hot tools to hair hacks.

If you think that soft, tousled, just-napped-on-a-beach waves are only synonymous with Victoria’s Secret Angels, think again. Because wavy hair has re-manifested itself as a cool-girl staple for 2019, and Gigi Hadid, Demi Lovato, Hailey Baldwin, and all of the Kardashian-Jenners are copying it.
But if you're not exactly a pro at using heat tools (ahem, me), and you need a little—or a lot of—help DIYing these waves on yourself, I've got you covered. Below, how-to create the prettiest, tumbliest of waves using every possible heat tool and hair hack known to the internet. You are finally one step closer to the dreamy, beach-y hair that's eluded you your entire life.
Using a flat iron to create beach-y waves requires a swift flick of the wrist—and a bit of patience. To start, spritz dry hair with a heat-protectant spray (I like Oribe Soft Lacquer Spray) to avoid burning your hair while you get the hang of the technique, then practice first without the flat iron plugged in (just trust me).
Just separate a section of hair, wrap it once around the outside of an open flat iron before tucking the ends in between the plates, clamp, then slide the iron down the length of the section. Voilà! Easy waves without the stress of twisting your hair (and hand) into a pretzel.
Again, starting with a heat-protectant spray (are you sensing a theme, here?) like Tresemme Thermal Creations Heat Tamer Spray, spray your dry hair before brushing through it with a paddle brush to evenly distribute the product. Next, for added hold, mist on a lightweight hairspray (I suggest Matrix Total Results High Amplify Flexible Hold Hairspray) to make sure your waves don’t fall flat.
Then grab your curling wand—this vlogger swears by the Nume wand—and, starting in the back, wrap a two-inch section of hair around the wand, winding away from your face and holding for 10 seconds. Expert tip: Leave the last two inches of your hair uncurled for a more natural, realistic look. To finish, shake out your hair, comb through it with a wide-tooth comb, and mist all over with a texture spray.
The O.G. curl maker—finally made easy. To start, section off the top of your hair with clips so you're only working with one strip of hair at a time. Clamp a three-inch section of hair in the iron, starting at the ends, then twist the iron away from your face, holding for a few seconds before unraveling and releasing. For extra volume, blast your roots with some dry shampoo and a texture spray, then massage a bit of shine oil through the ends.
If you can make a braid, you can create these heat-free waves by vlogger Shonagh. On dry hair, create a three-strand Dutch braid (which is just like a regular French braid, except you cross the pieces under, rather than over, to get that 3D, popped-out effect). Braid straight down the center of your head to the ends, securing with an elastic band. Next, gently tug at the edges of your braid to fatten it up and loosen it. Sleep tight, then simply shake out the braid in the morning.
Fact: To avoid further heat damage after getting a press and curl in college, I would pin-curl my hair every night to keep the style intact. Flash forward to this throwback method of “wet-set” pin curls. On damp hair, roll two-inch sections of hair around your fingers, like you're winding tiny hair rollers, before securing at the root with a few bobby pins.
The size of your loops is totally up to you, but the smaller they are, the tighter your curl will be. This process can take up to one hour, but results can last for several days. The next morning, start by taking out a few curls at a time, then fully brushing them out.
If you’re still shaking your head at the complexity of these tutorials, don’t worry: This one is much less involved. On dry hair, tie off your hair into a high ponytail using an Invisibobble (to avoid creases), then smooth a hydrating serum through the tail.
Next, grab a hair donut and place it over the base of your ponytail, before wrapping your hair around it, weaving strips over and under the donut. Secure your hair with two non-slip hair clamps, then hit the sheets. The next morning, unclamp, unravel, and shake what your mama (and this tutorial) gave you. Use your fingers to style.
Mist your dry hair with a salt spray (for added hold) and then brush it out to avoid tangles. Next, place a thick, cloth headband on the crown of your head, like a hat, and wrap one-inch sections of hair around the headband, picking up extra hair as you work (almost like a French braid).
Repeat this process—believe me, it makes more sense if you watch the tutorial—on both sides of your head, using bobby pins to secure loose strands. Re-dampen your hair with another layer of salt spray and go to sleep (or let your hair set for a minimum of one hour). To finish, remove the pins and gently take down your hair one section at a time. Rake through your waves with your fingertips, then apply a light-hold hairspray if desired.
Plan to add your hot tools collections?
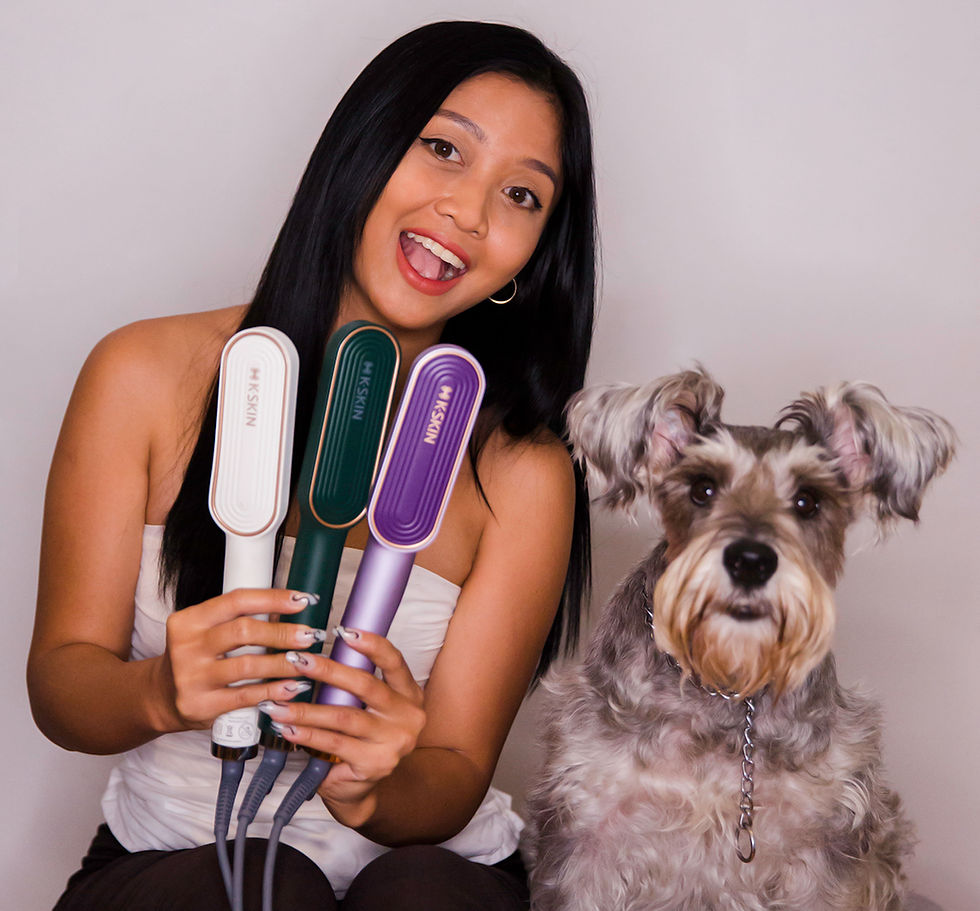
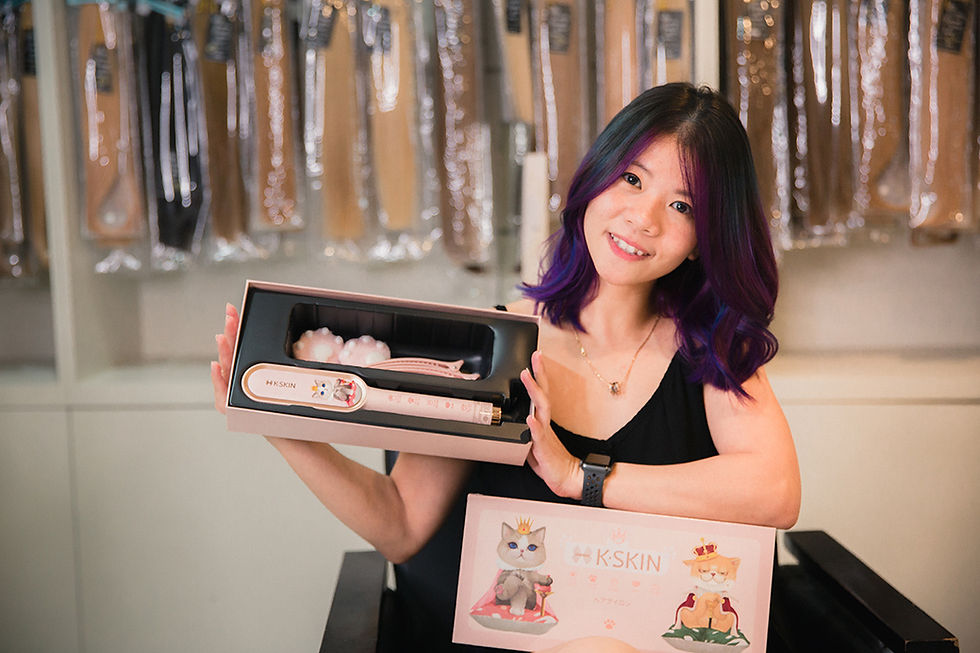
Check out HairShop for hot tools products, you can purchase on Shopee or Tokopedia.


Article written by Janell M. Hickman-Kirby for Cosmopolitan

Comments